
FAQ
HelloYeti unpacking and installation
Resources » FAQ » HelloYeti unpacking and installation
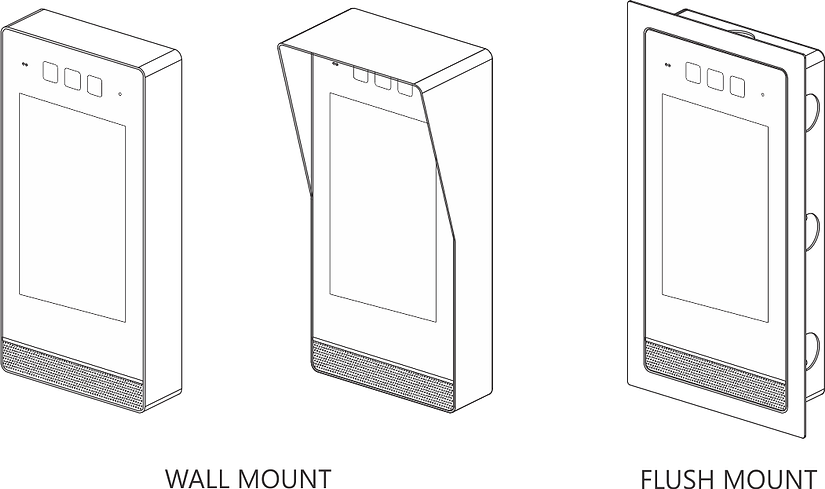
Select a preferred configuration for the display before installing the product and setting it up for use.
CAUTION: Follow the installation instructions properly to avoid dropping and damaging the display.
MOUNTING OPTIONS
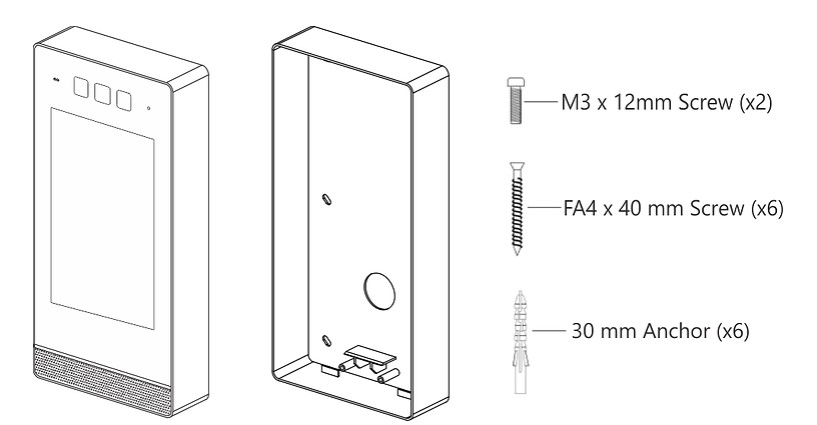
UNPACKING THE BOX
PERFORMING PRE-INSTALLATION TASKS
Before installing the device to the wall mount, perform the following tasks first:
1. Copy the serial number from back of the device.
2. Prepare a connected POE or 12V input cable.
3. Connect the panel’s relay to the building’s door strike or access control system.
4. Load the software and compatible firmware first to the device. The device software or firmware is updated using the micro USB port located at the back of the device. Once installed, you need to uninstall the device from the wall mount before you can update the software or firmware.
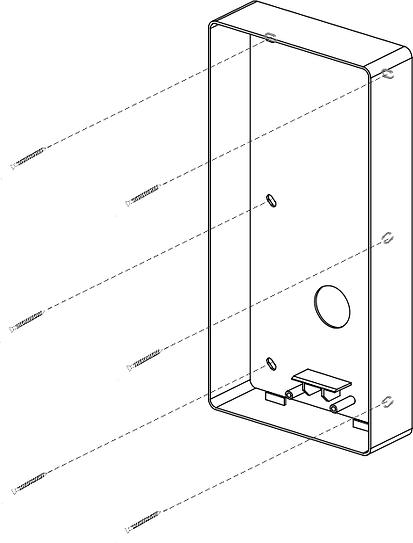
MOUNTING THE DEVICE TO THE WALL
To mount the device to the wall, follow these steps:
1. Place the wall mount on the wall and mark the six mounting holes.
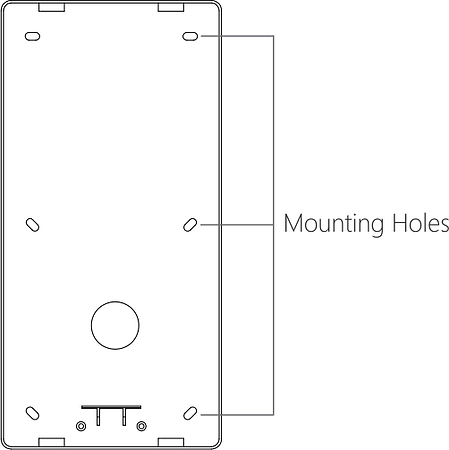
2. Drill six 30 mm holes on the concrete wall, and insert an anchor into each hole.
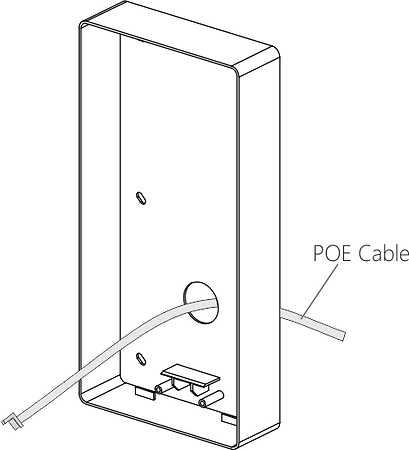
3. Route the POE cable out of the wall mount.
4. Align the wall mount with the mounting holes. Secure the mount to the wall with screws.
5. Connect the POE cable to the Ethernet with POE port of the device.
6. Connect the other cables to the corresponding ports.
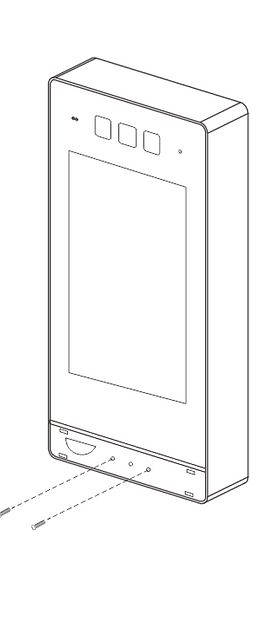
7. Place the unit into the wall mount.
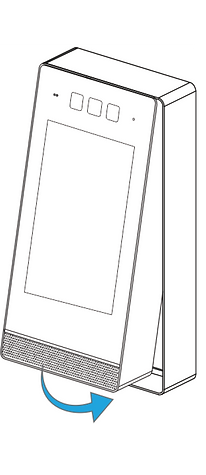
8. Open the front cover, and then secure the unit with screws.
9. Close and secure the front cover.